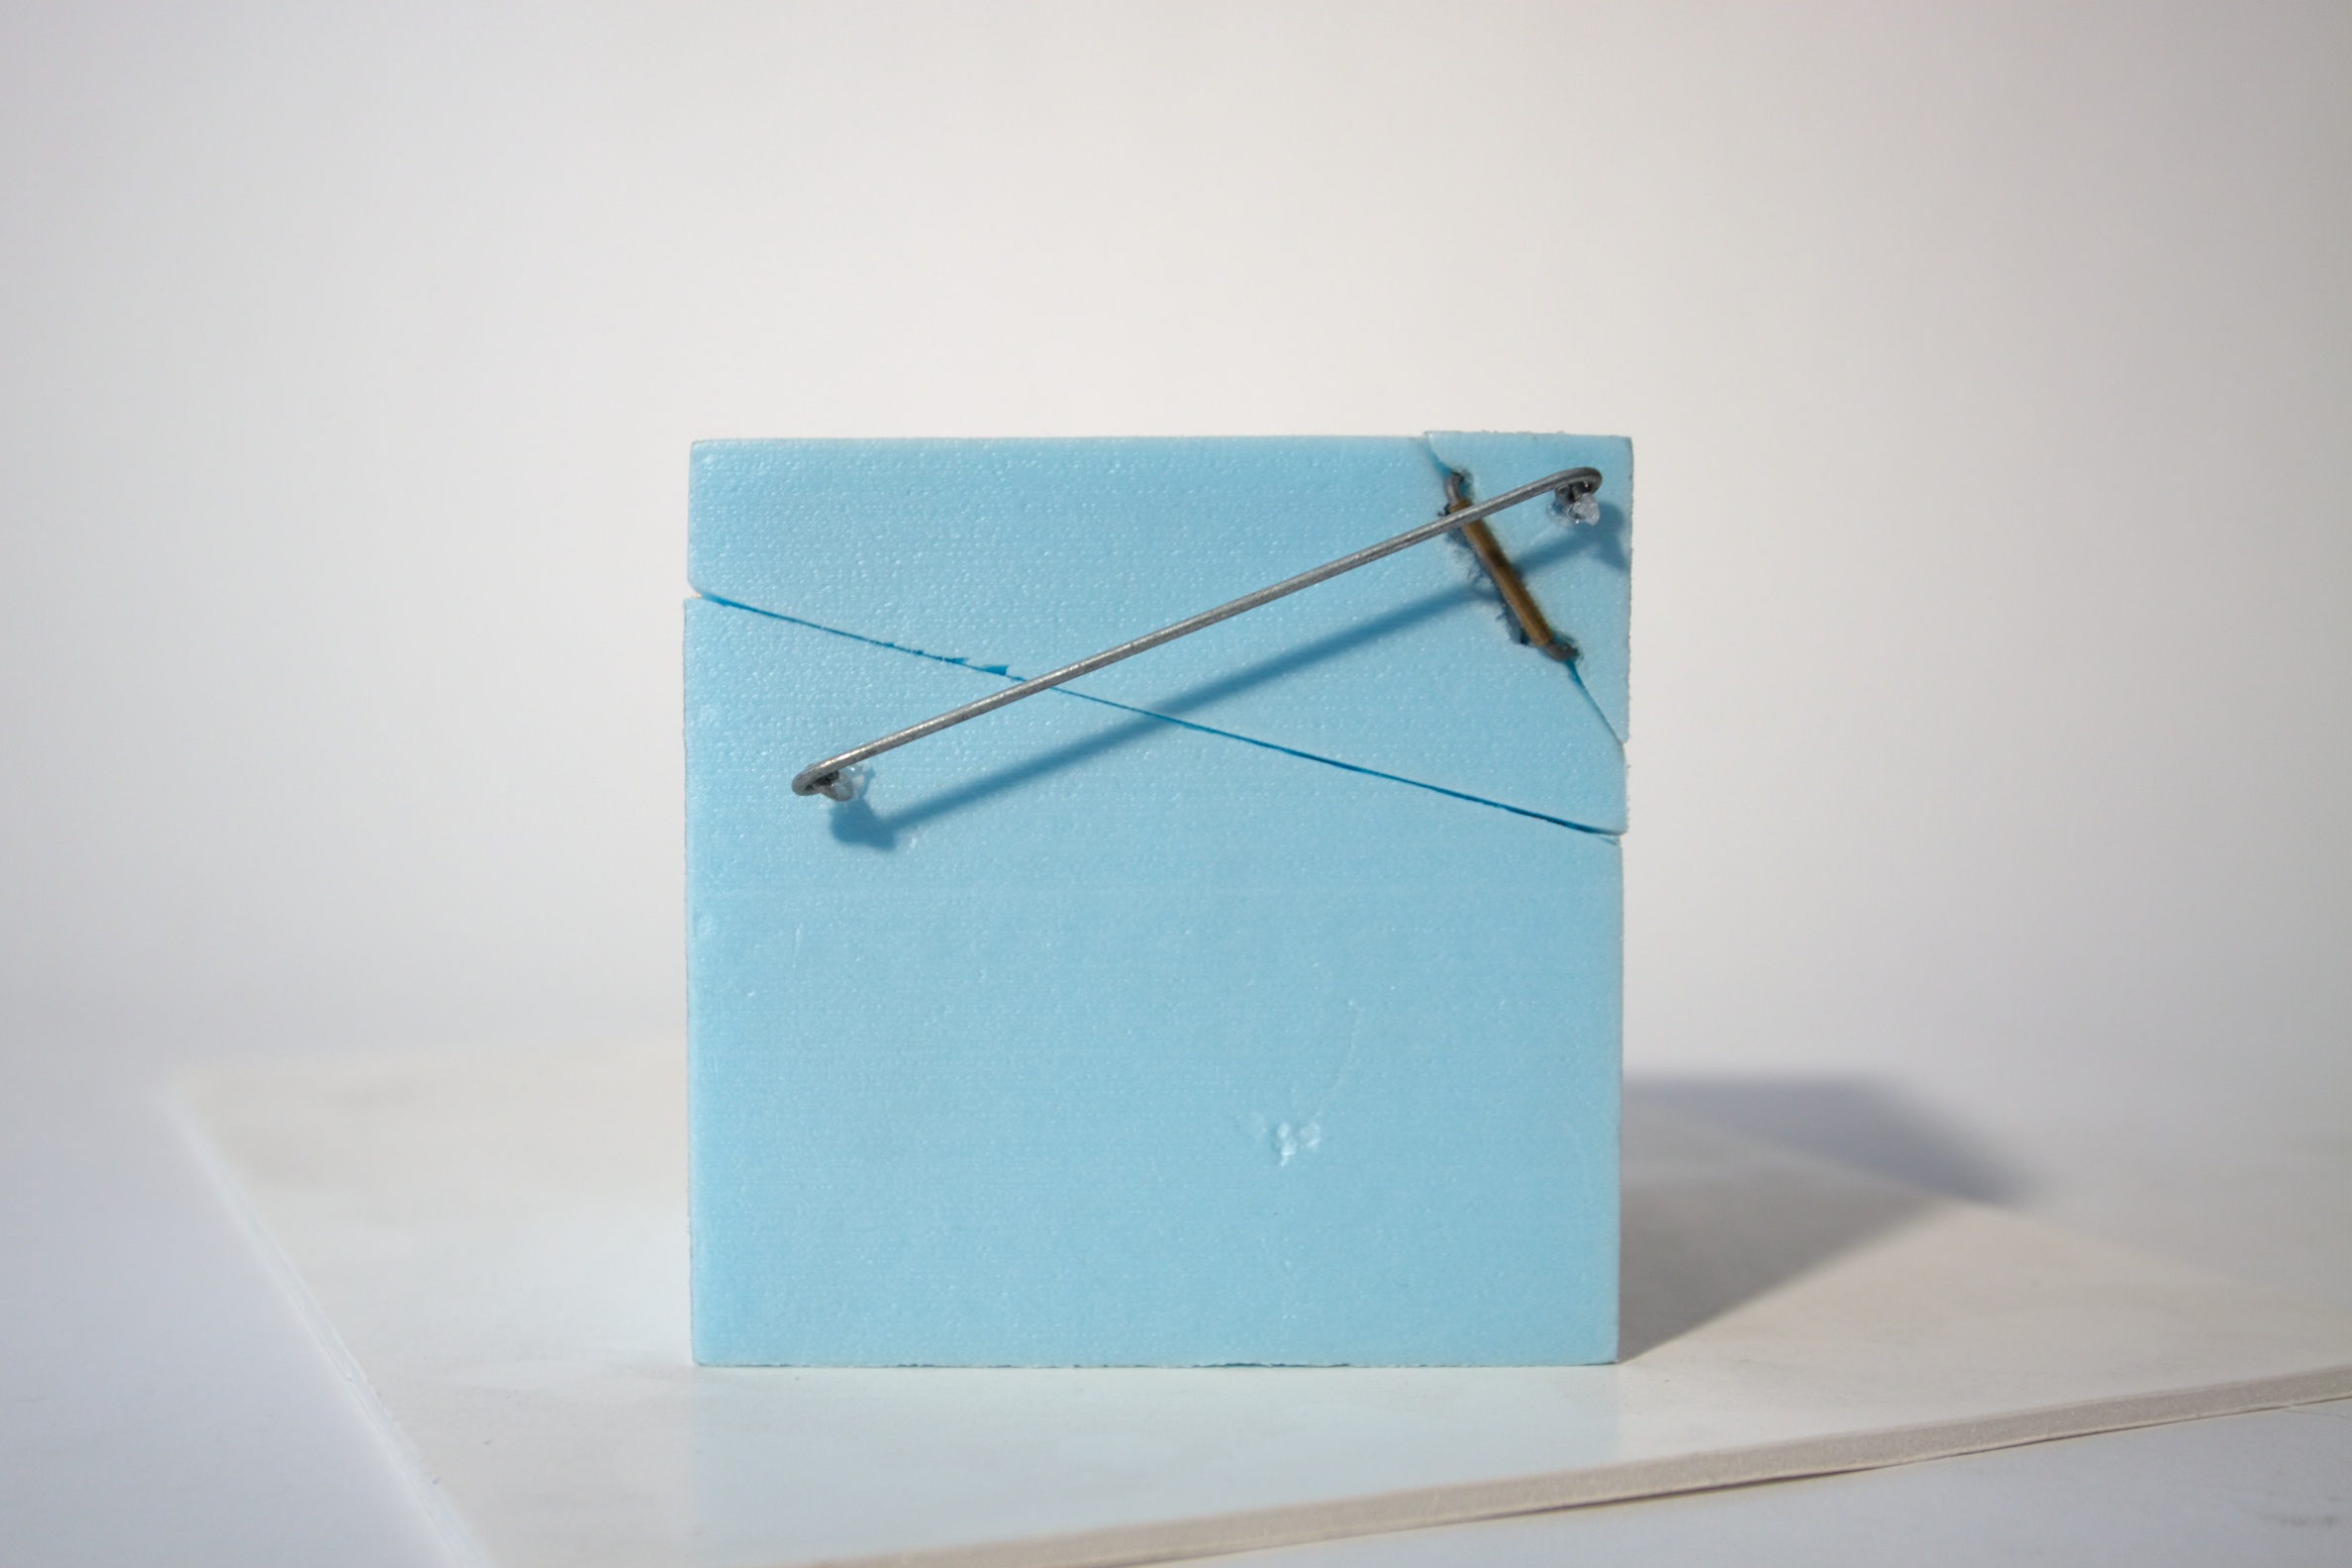
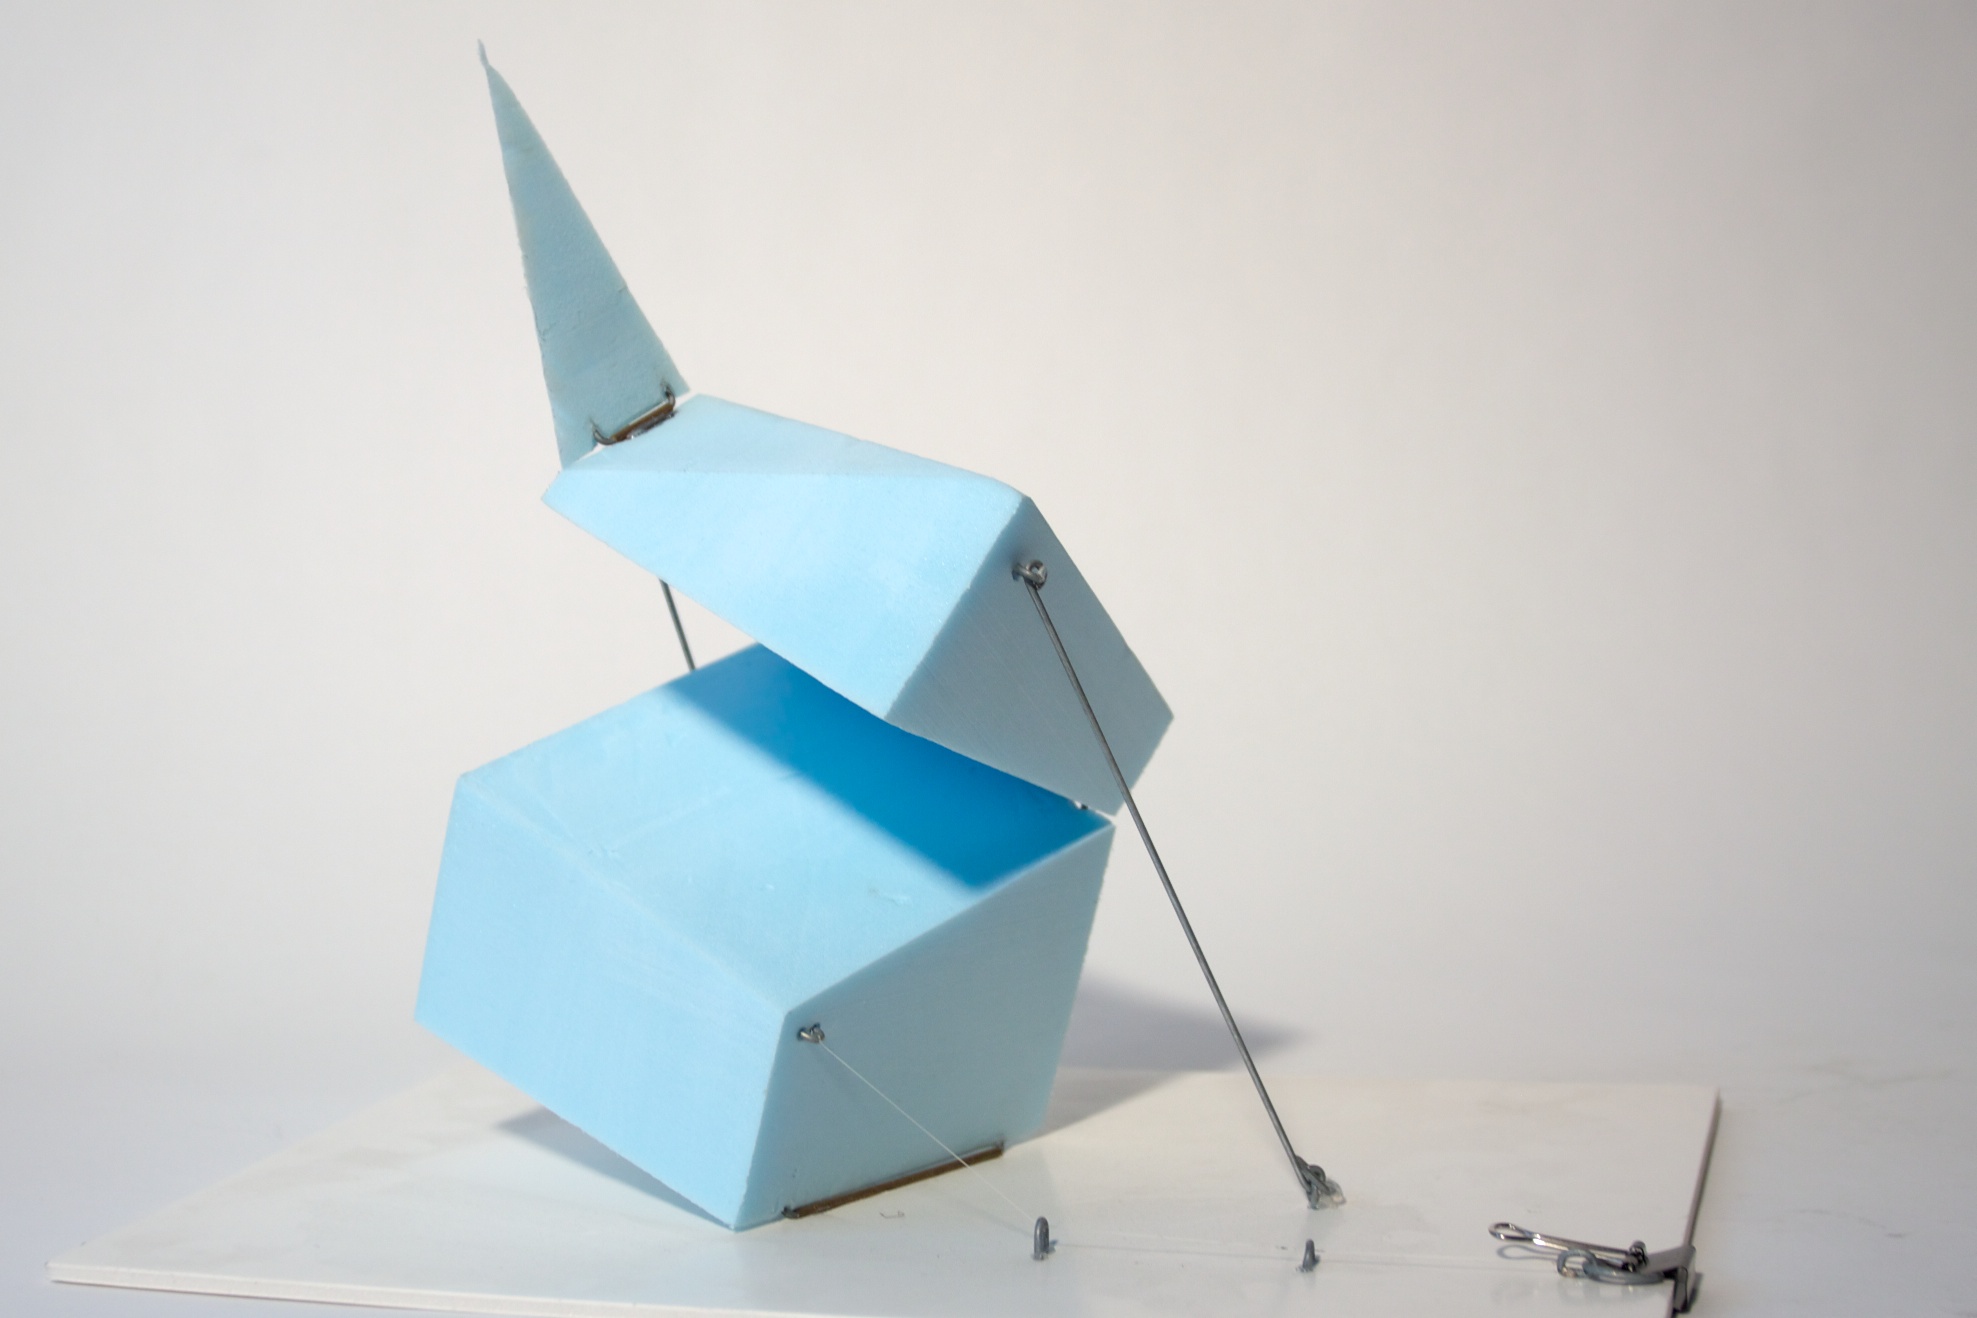
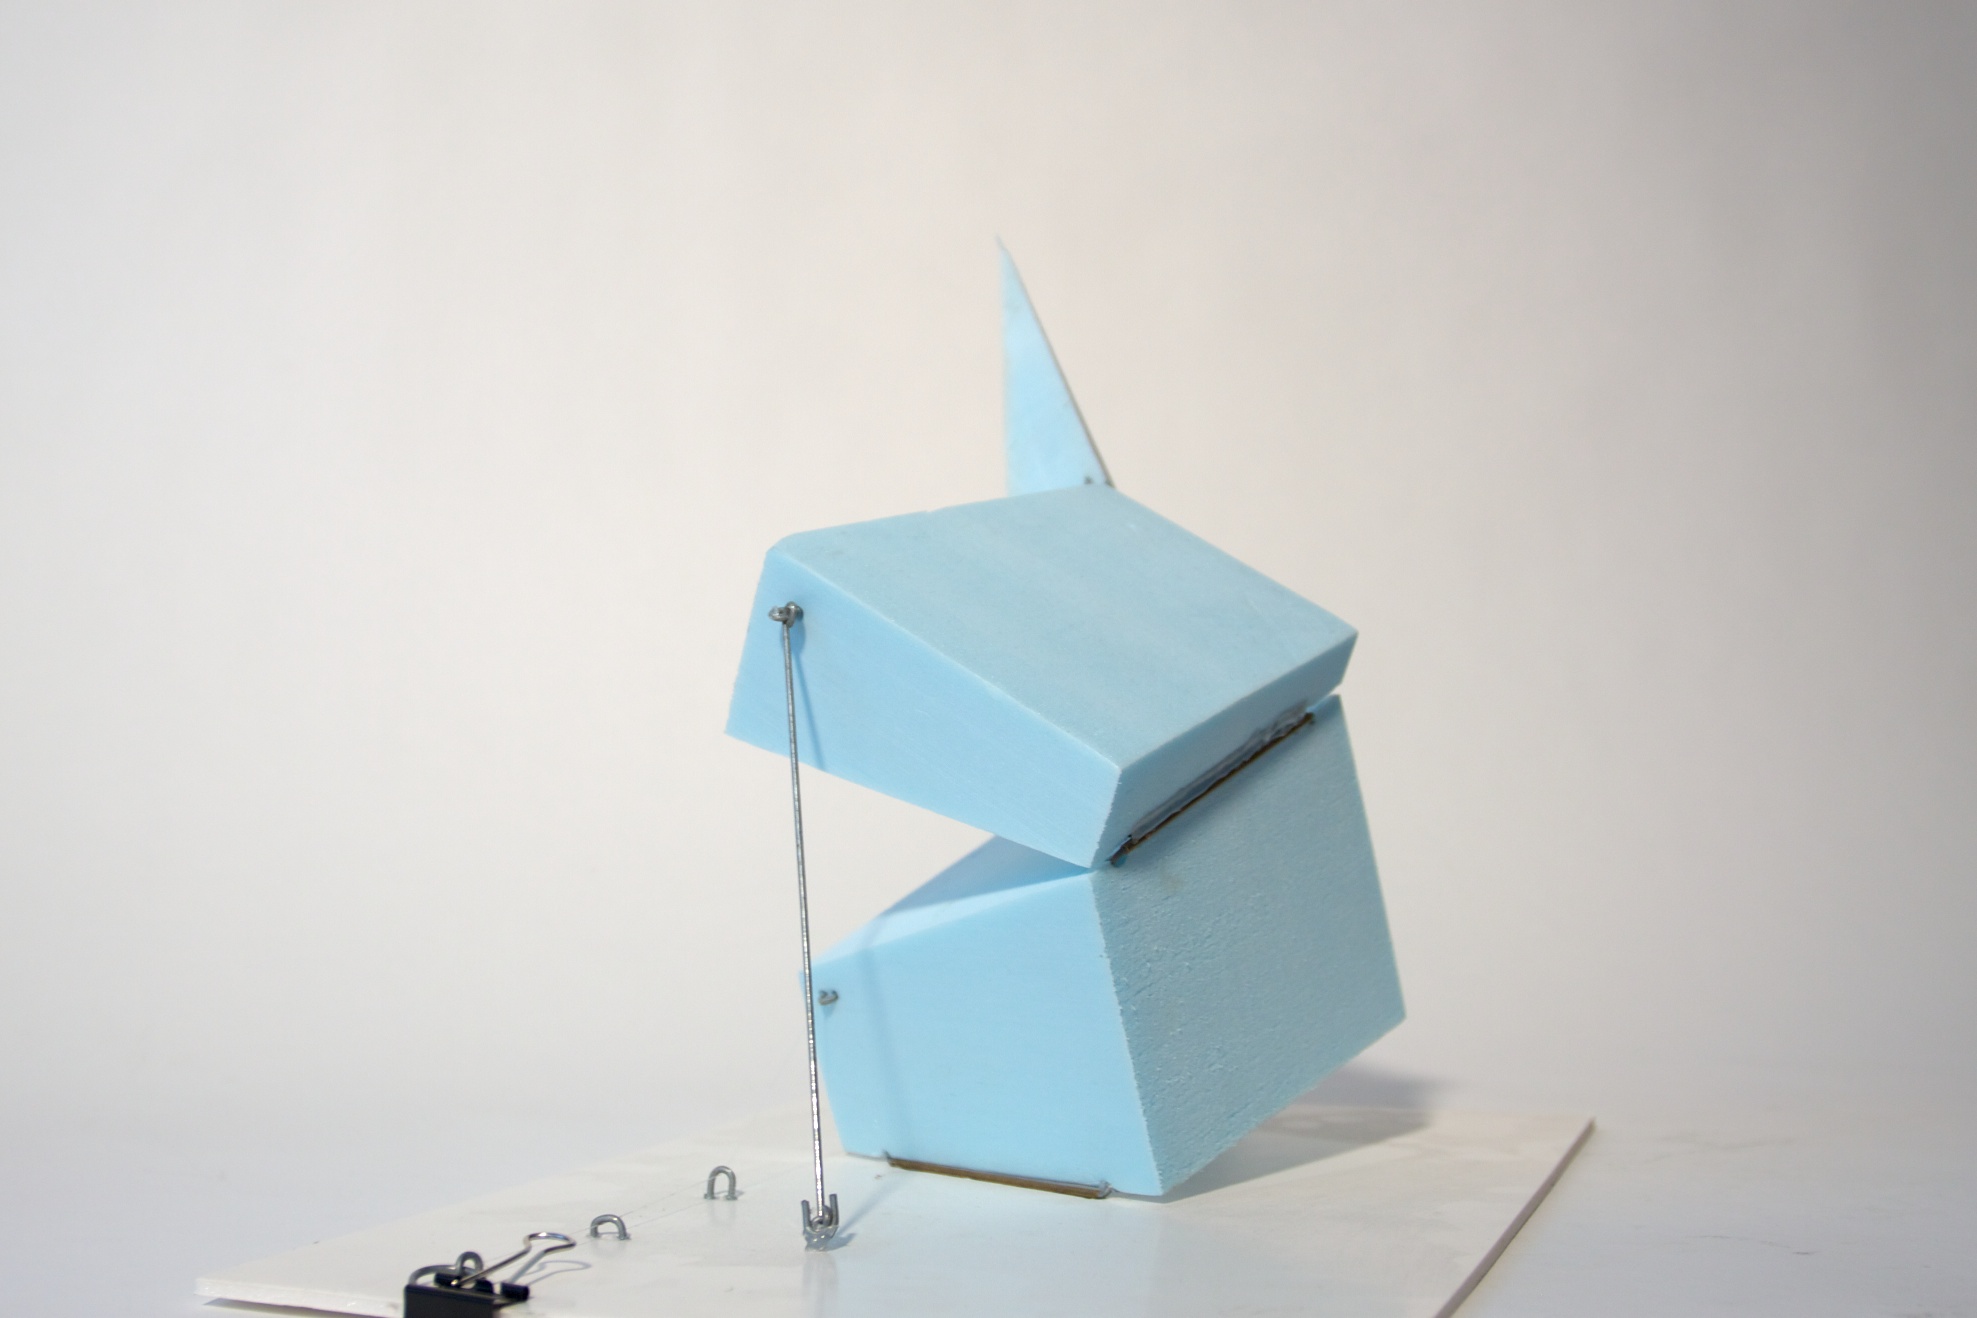
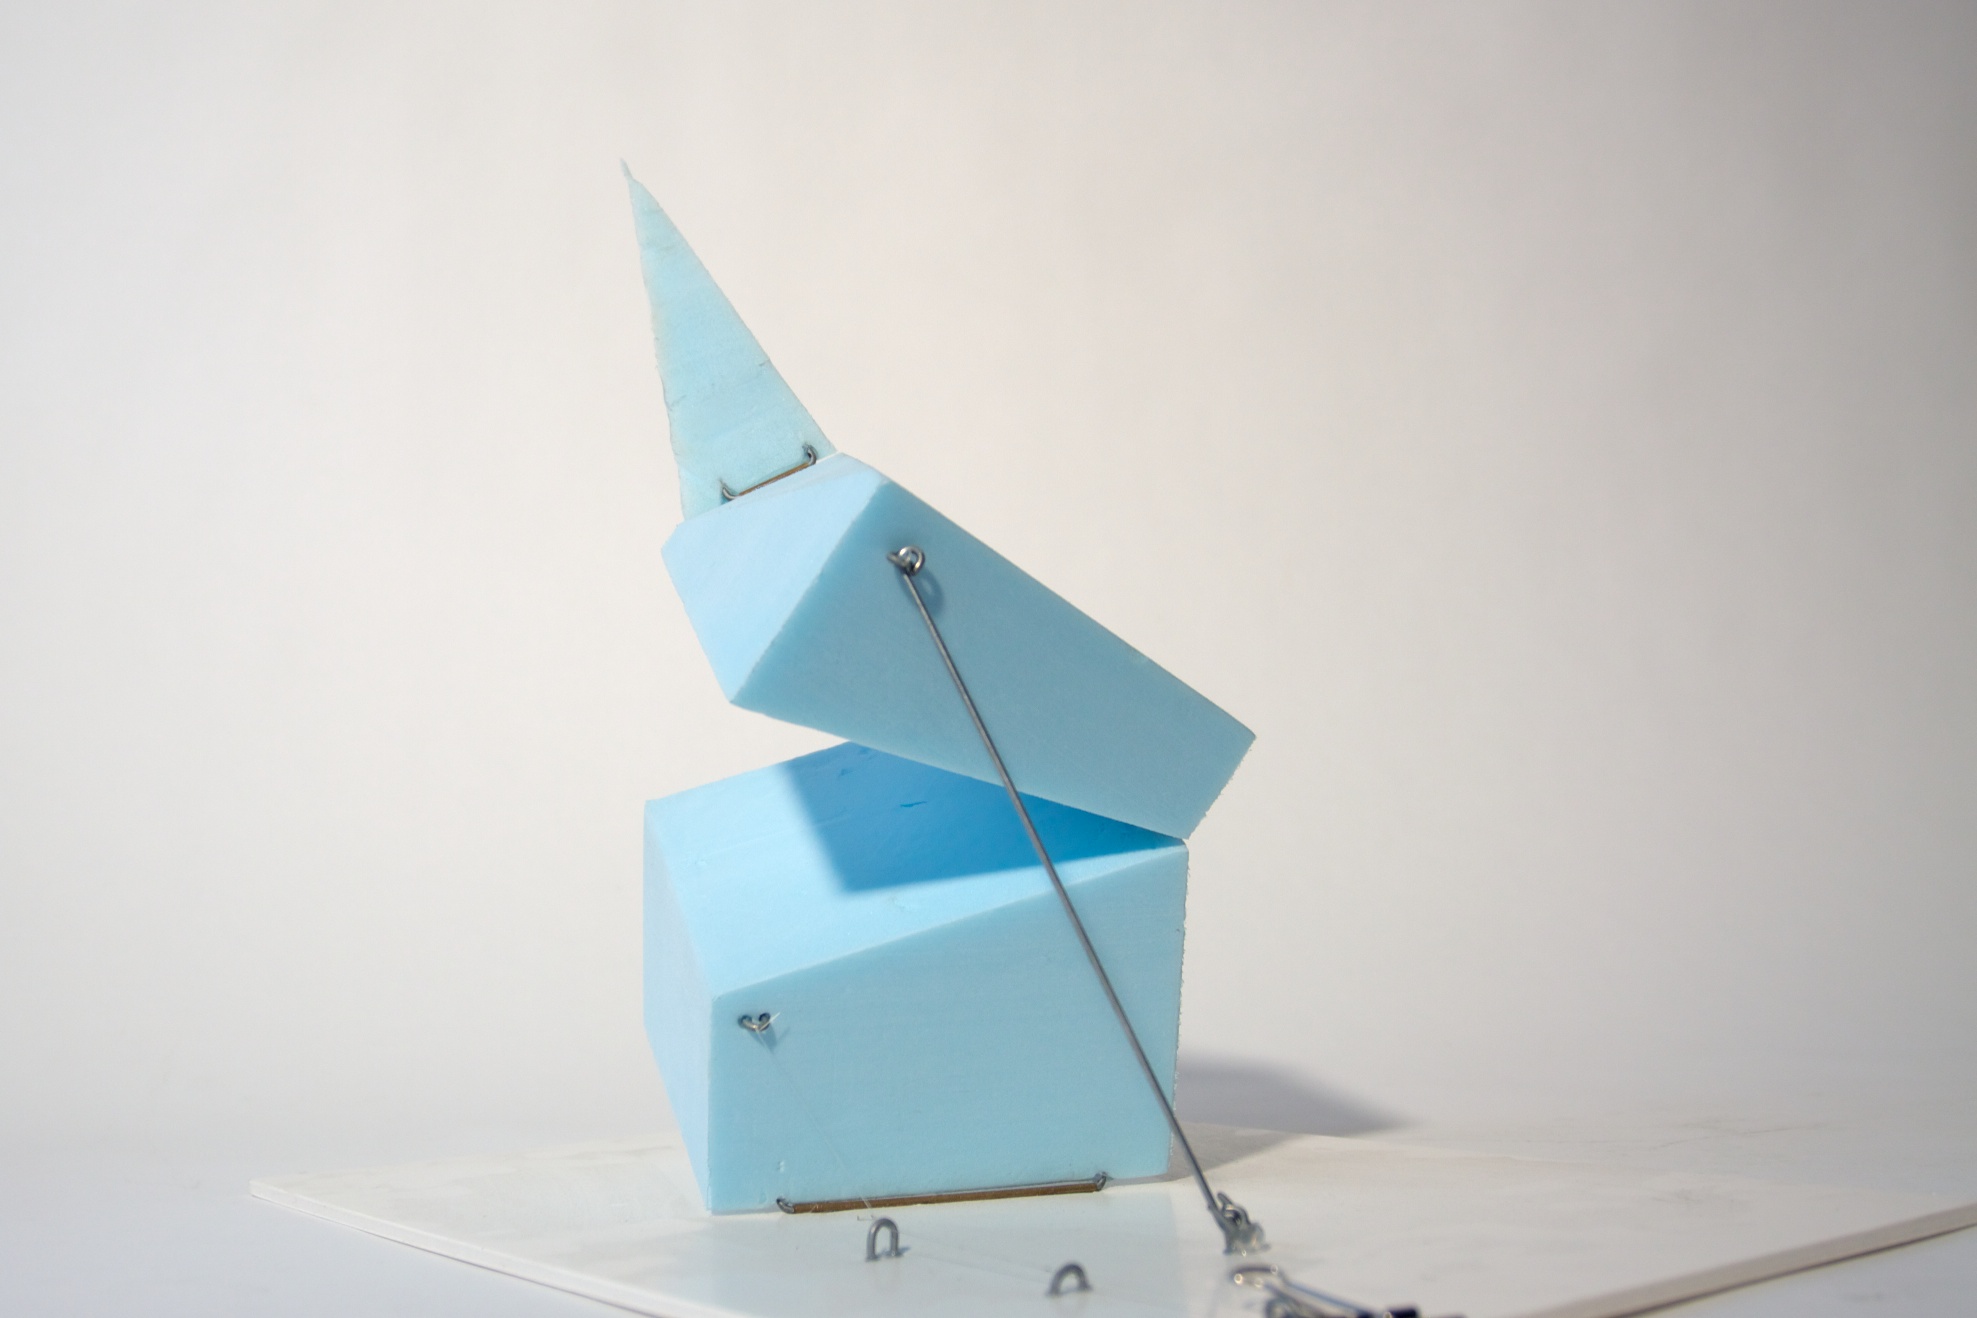
Kinetic Design was a class offered to junior and senior undergraduates and graduate students. Led by Ben Hopson, the class was an eye opener. Strange as it sounds, my industrial design education thus far have not had much in the way of movements. At the conclusion of the first class, I immediately began to see movement possibilities for designs I was working on. The first project started with a blue foam cube measuring 4" x 4" x 4" and three planer cuts through the cube. Each part would be connected together with hinges and arms; when activated the part "explodes!"
Here's the first sketch model. The arms are bent with 1/16" wire to create universal joints on both ends. The hinges are made with 1/16" wire, bent, and plastic straw tubes.
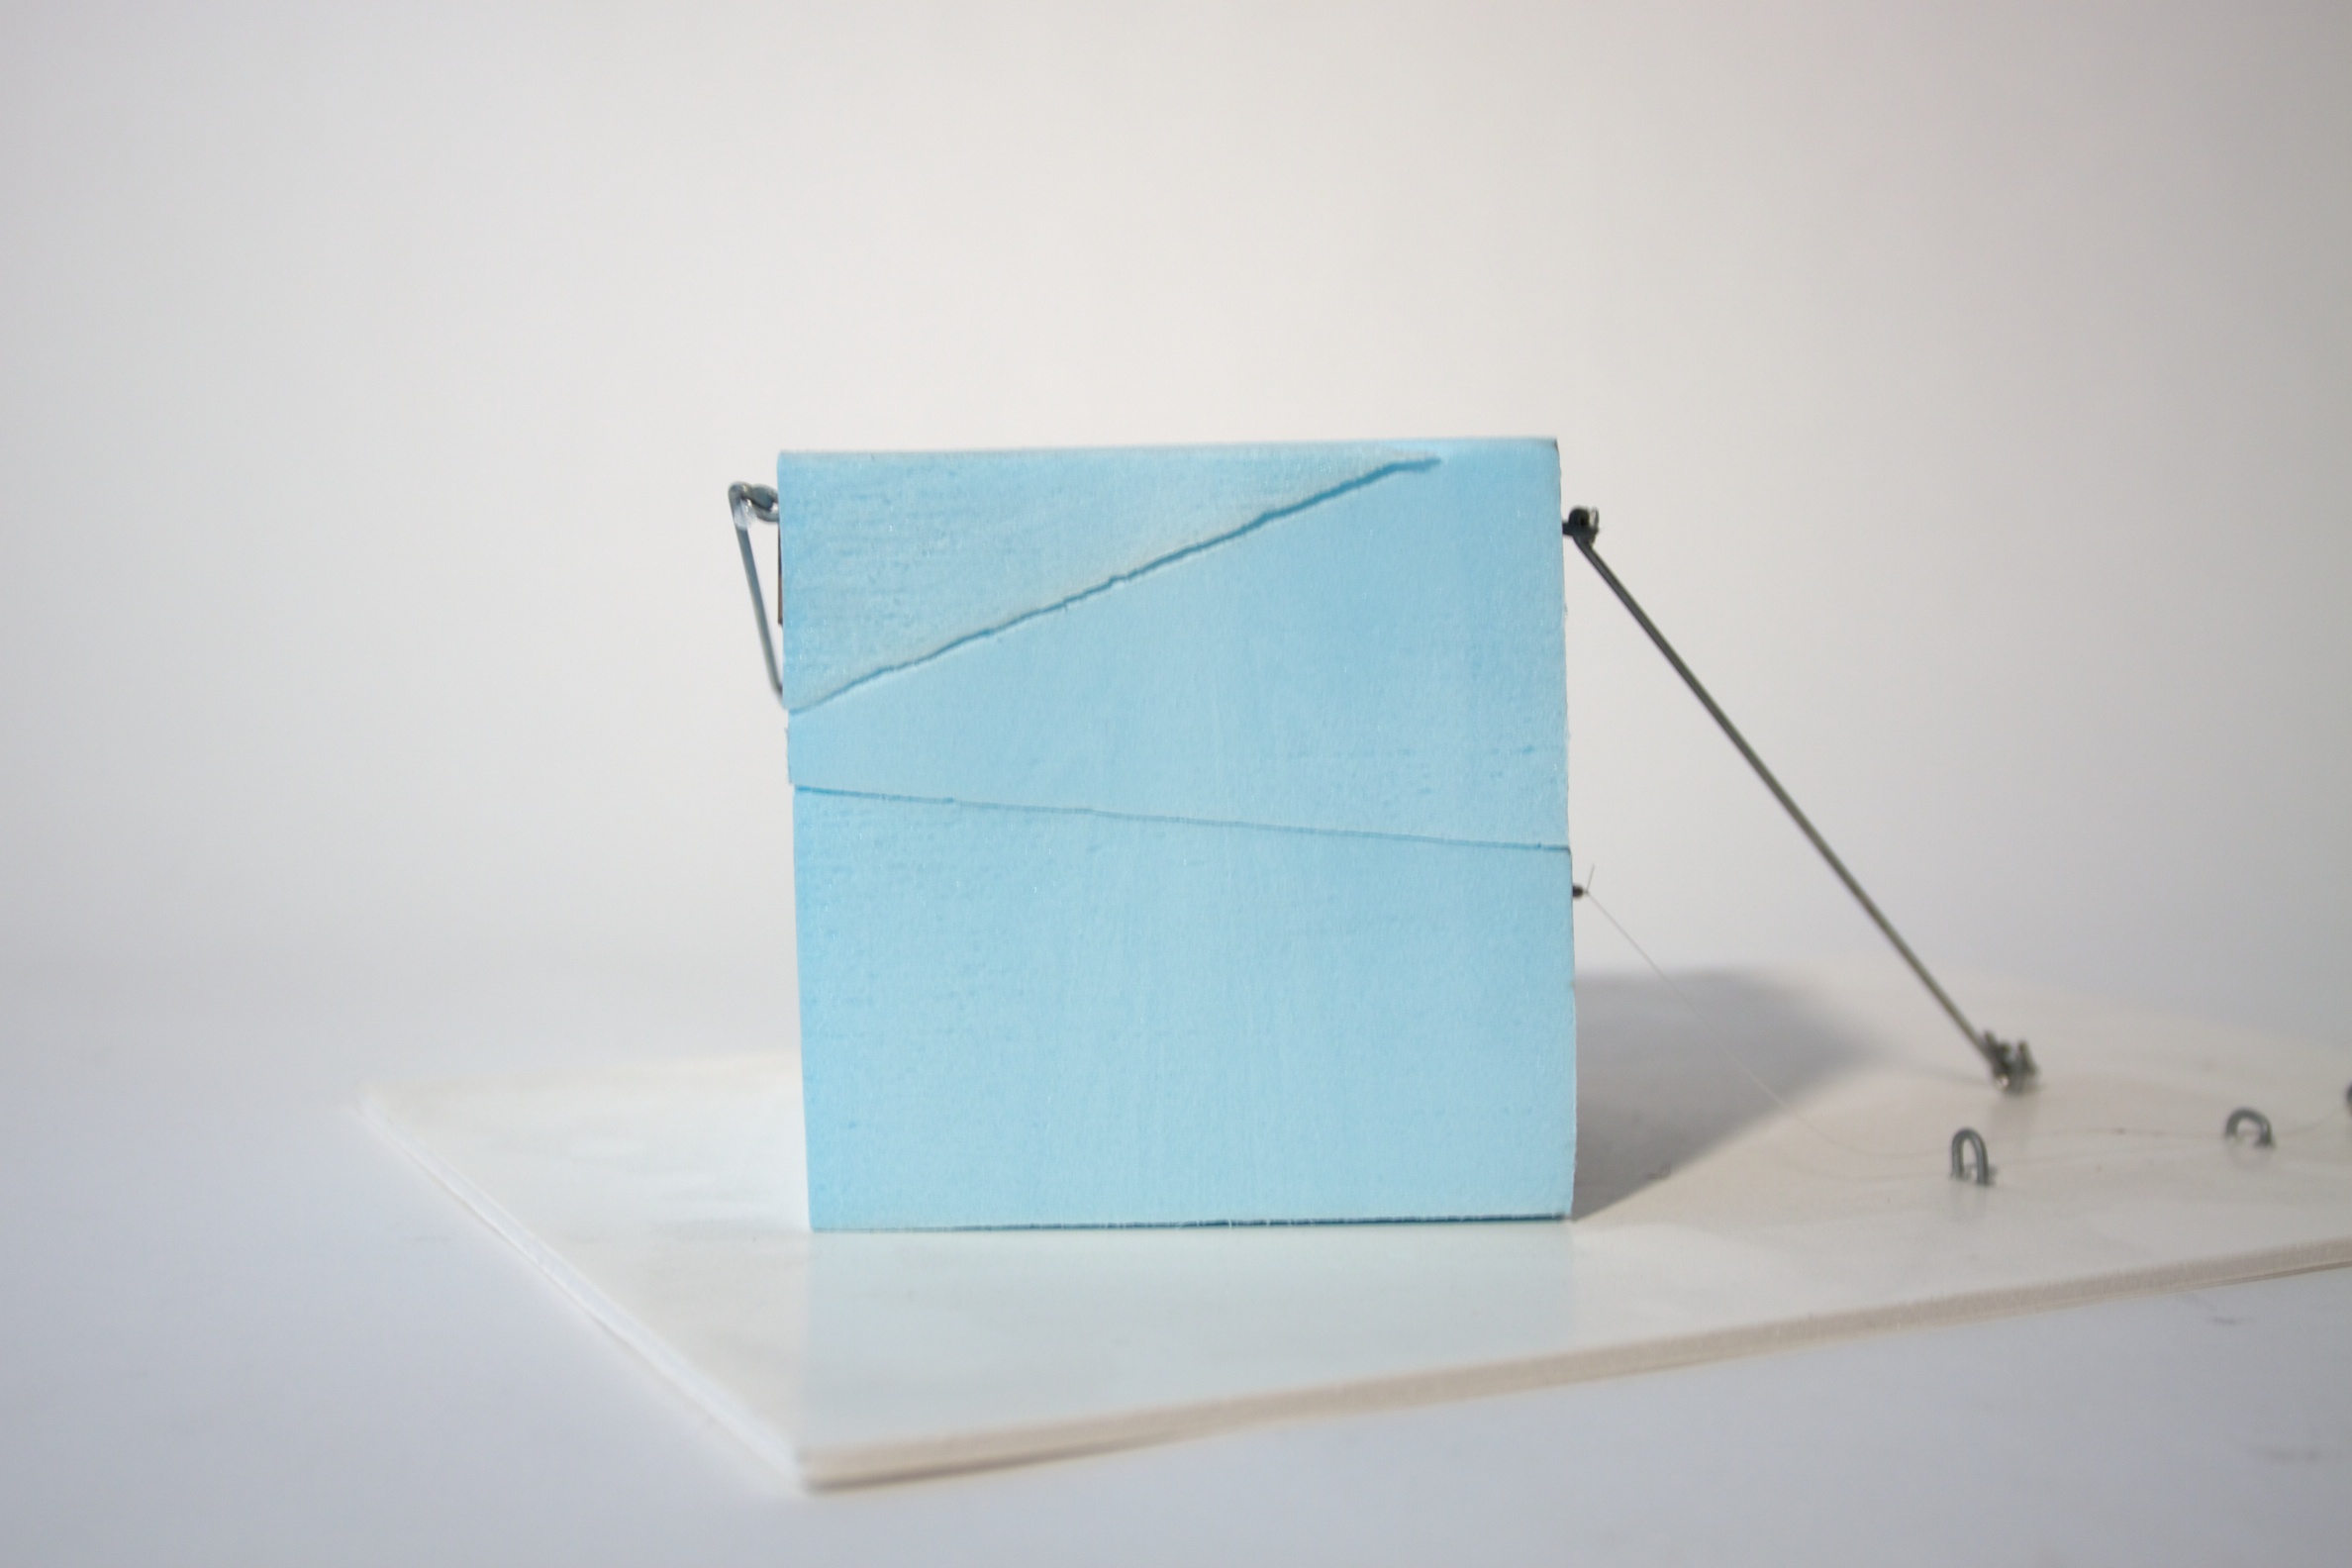
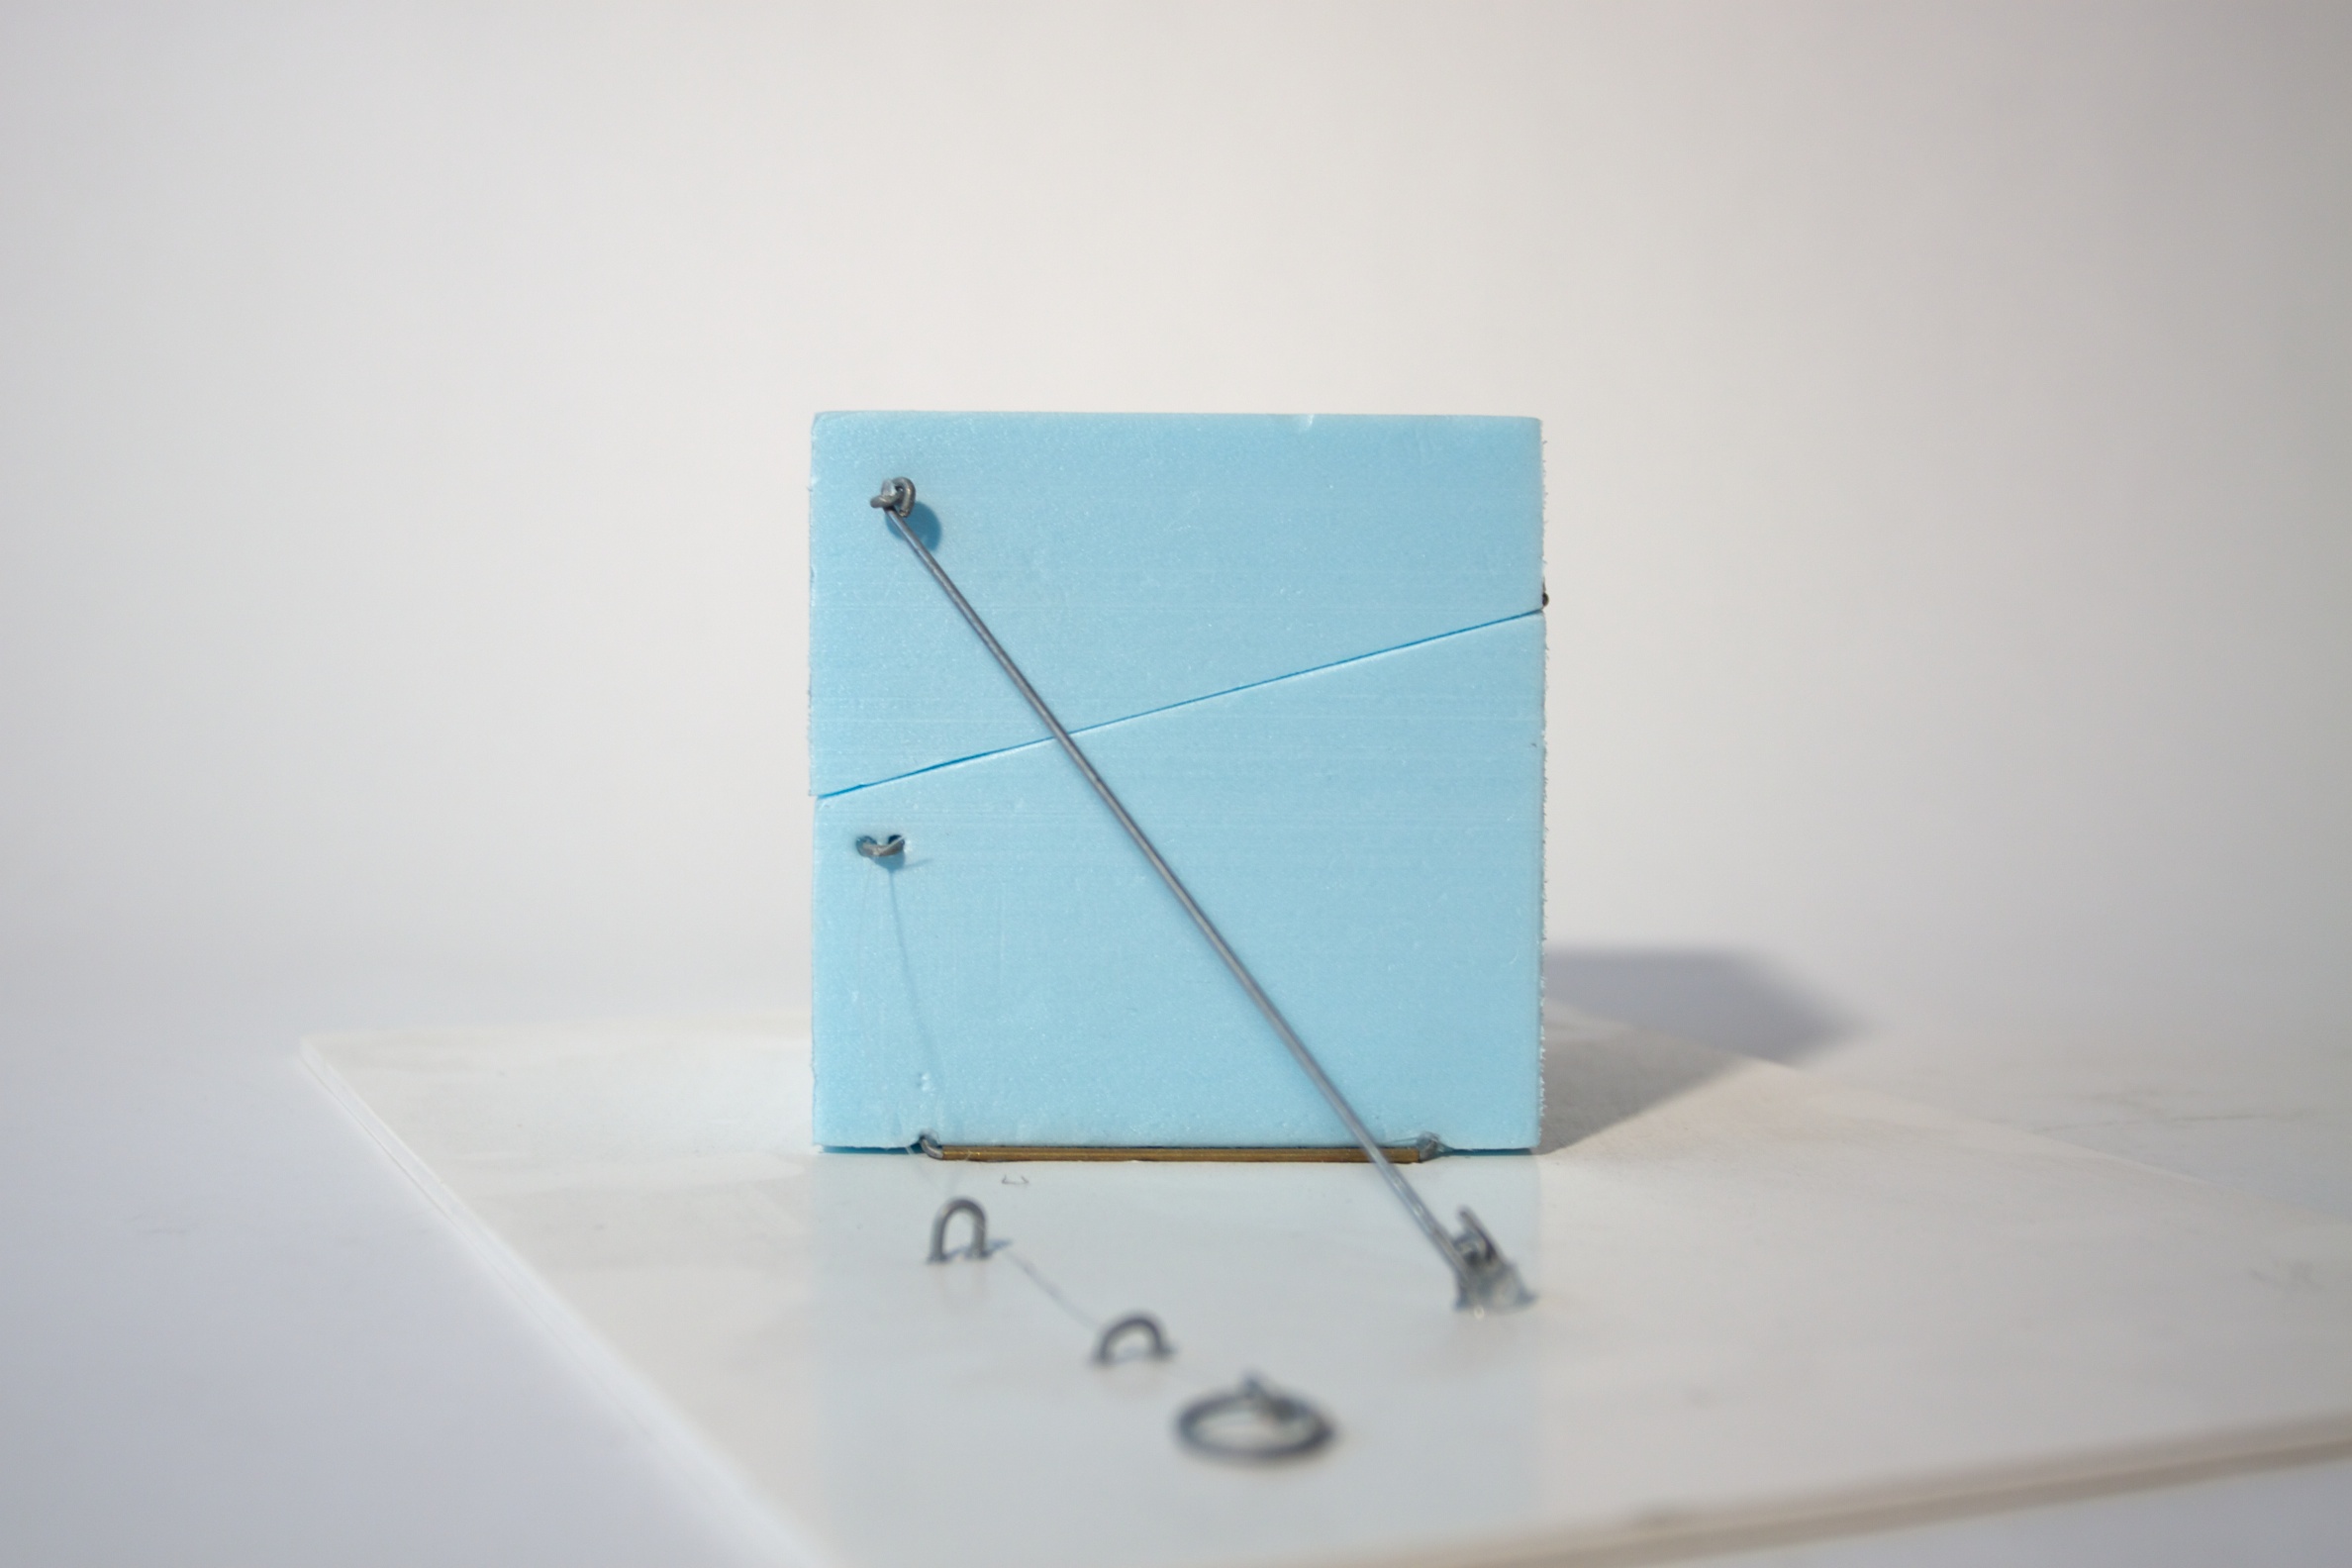
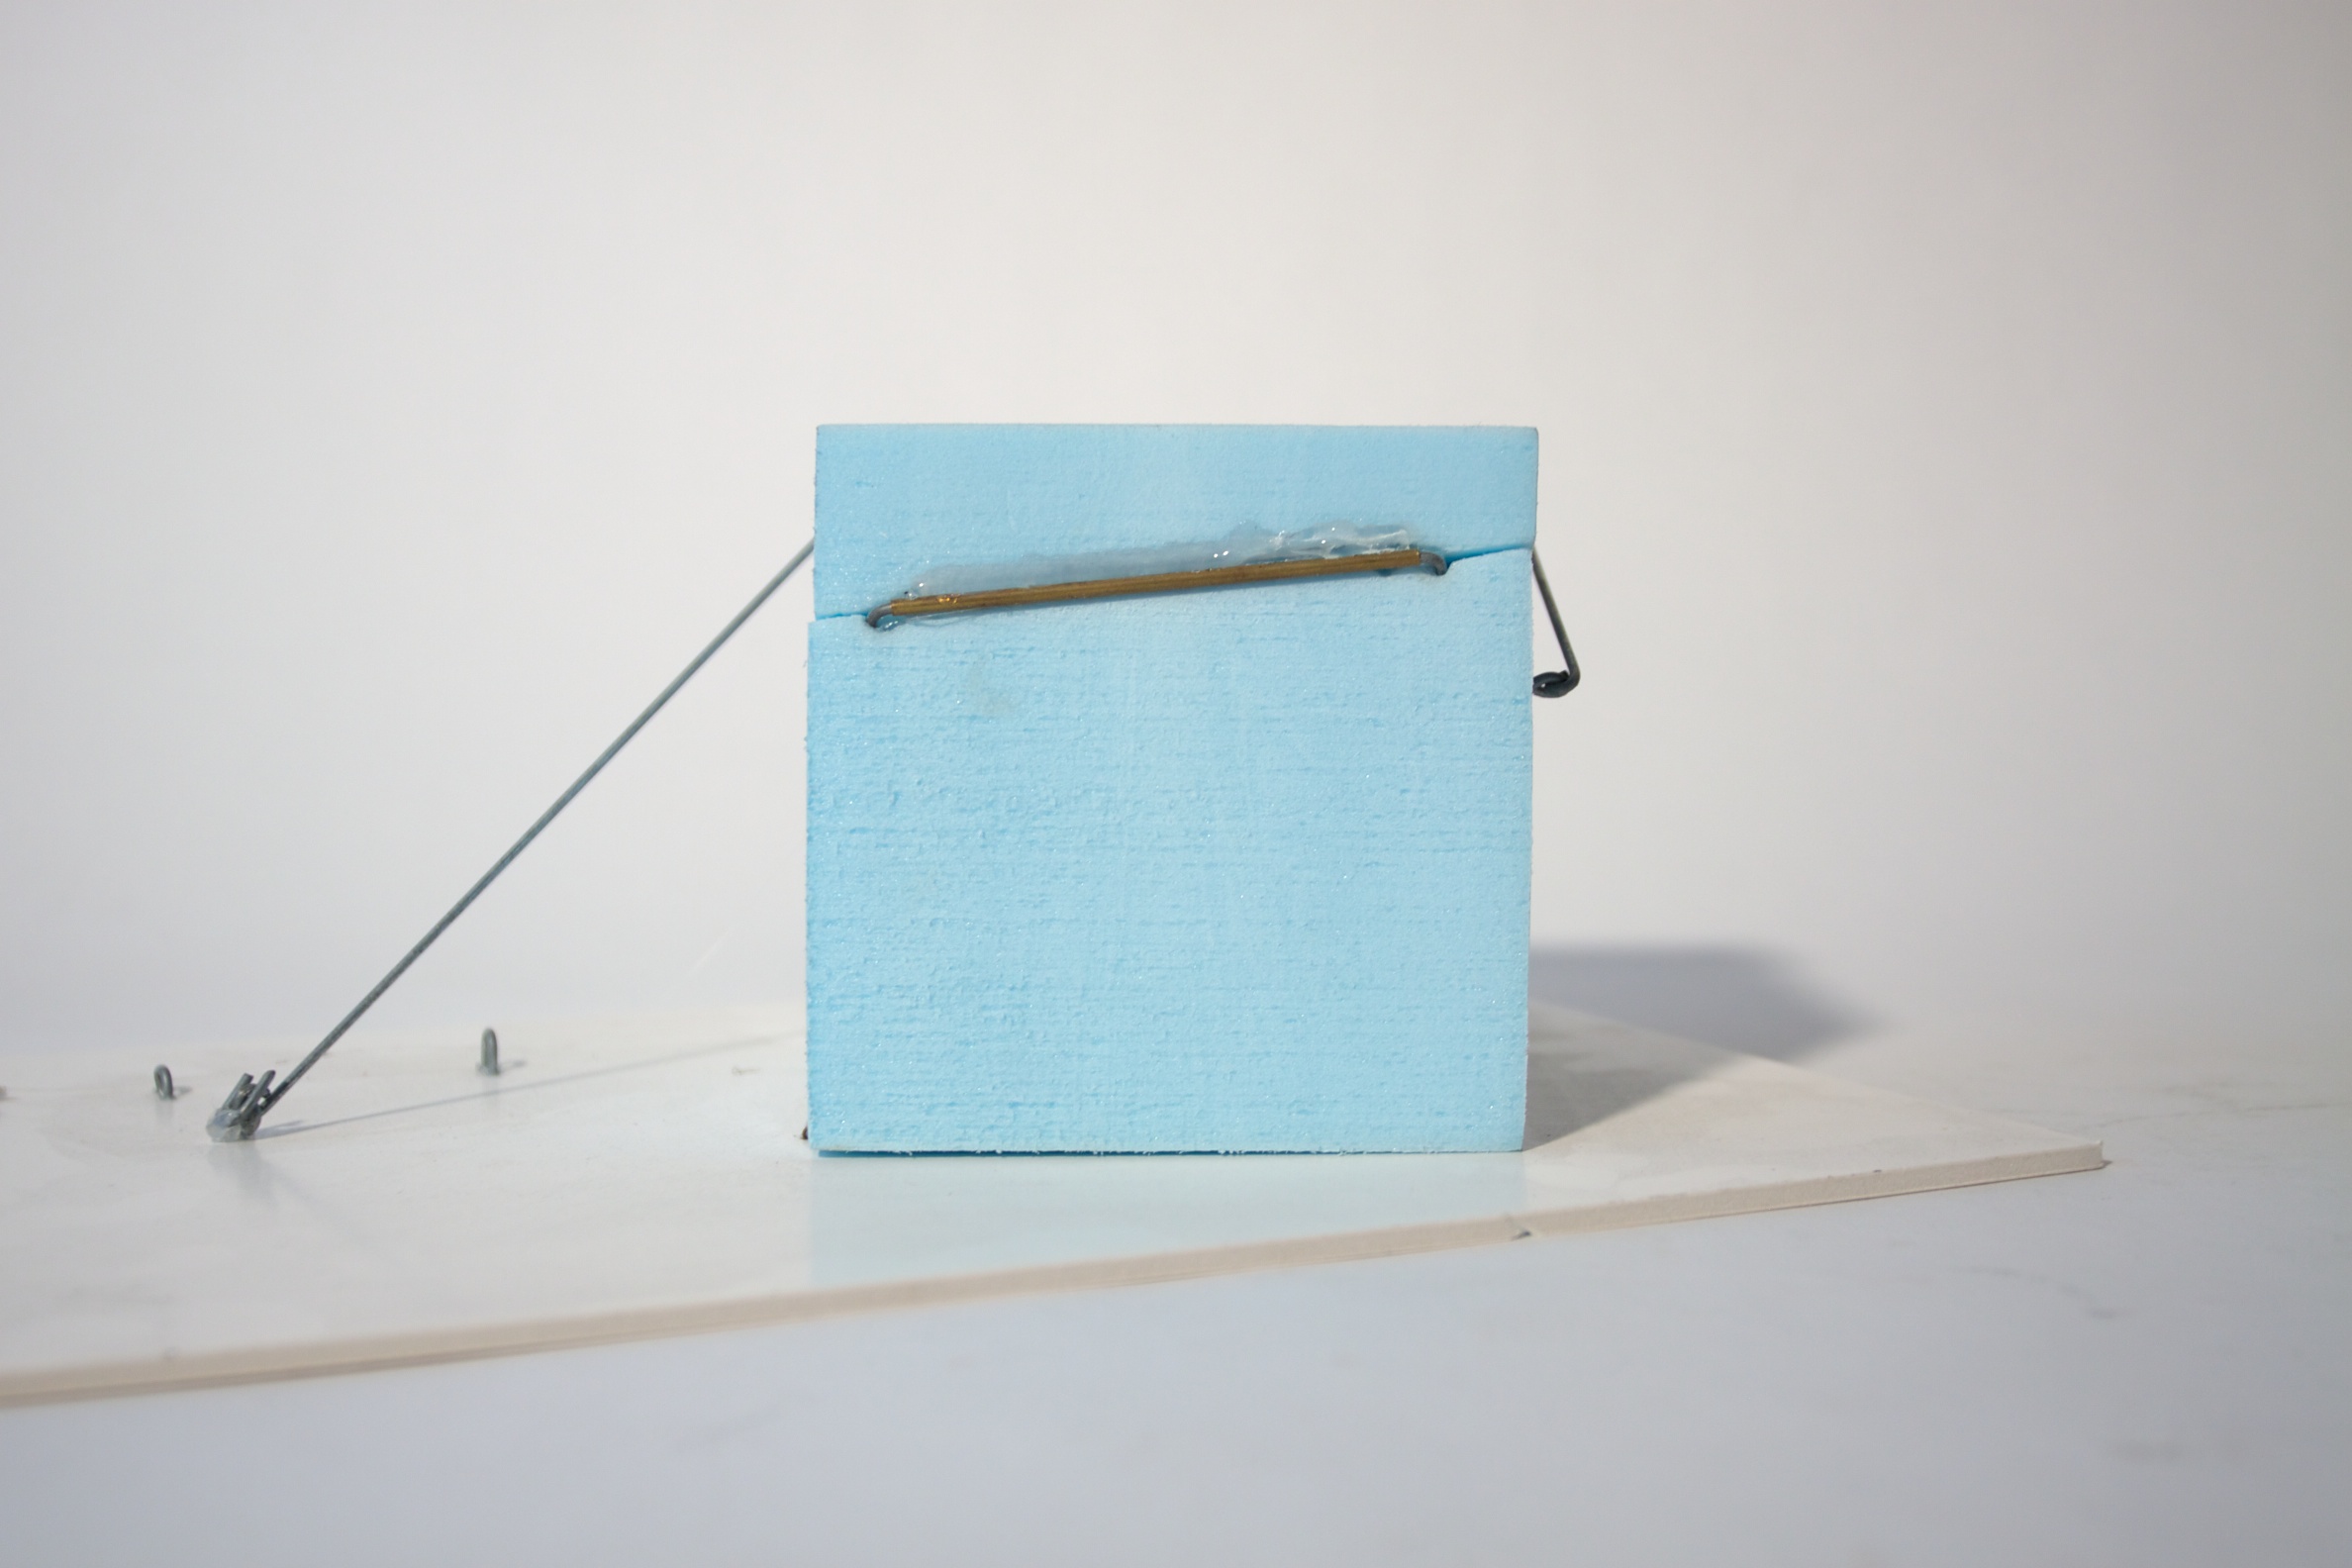
As you can see here, the hinges and arms are too loose and hence a little help was required to close by itself. For the final model, we changed the plastic straws out for brass tubes.
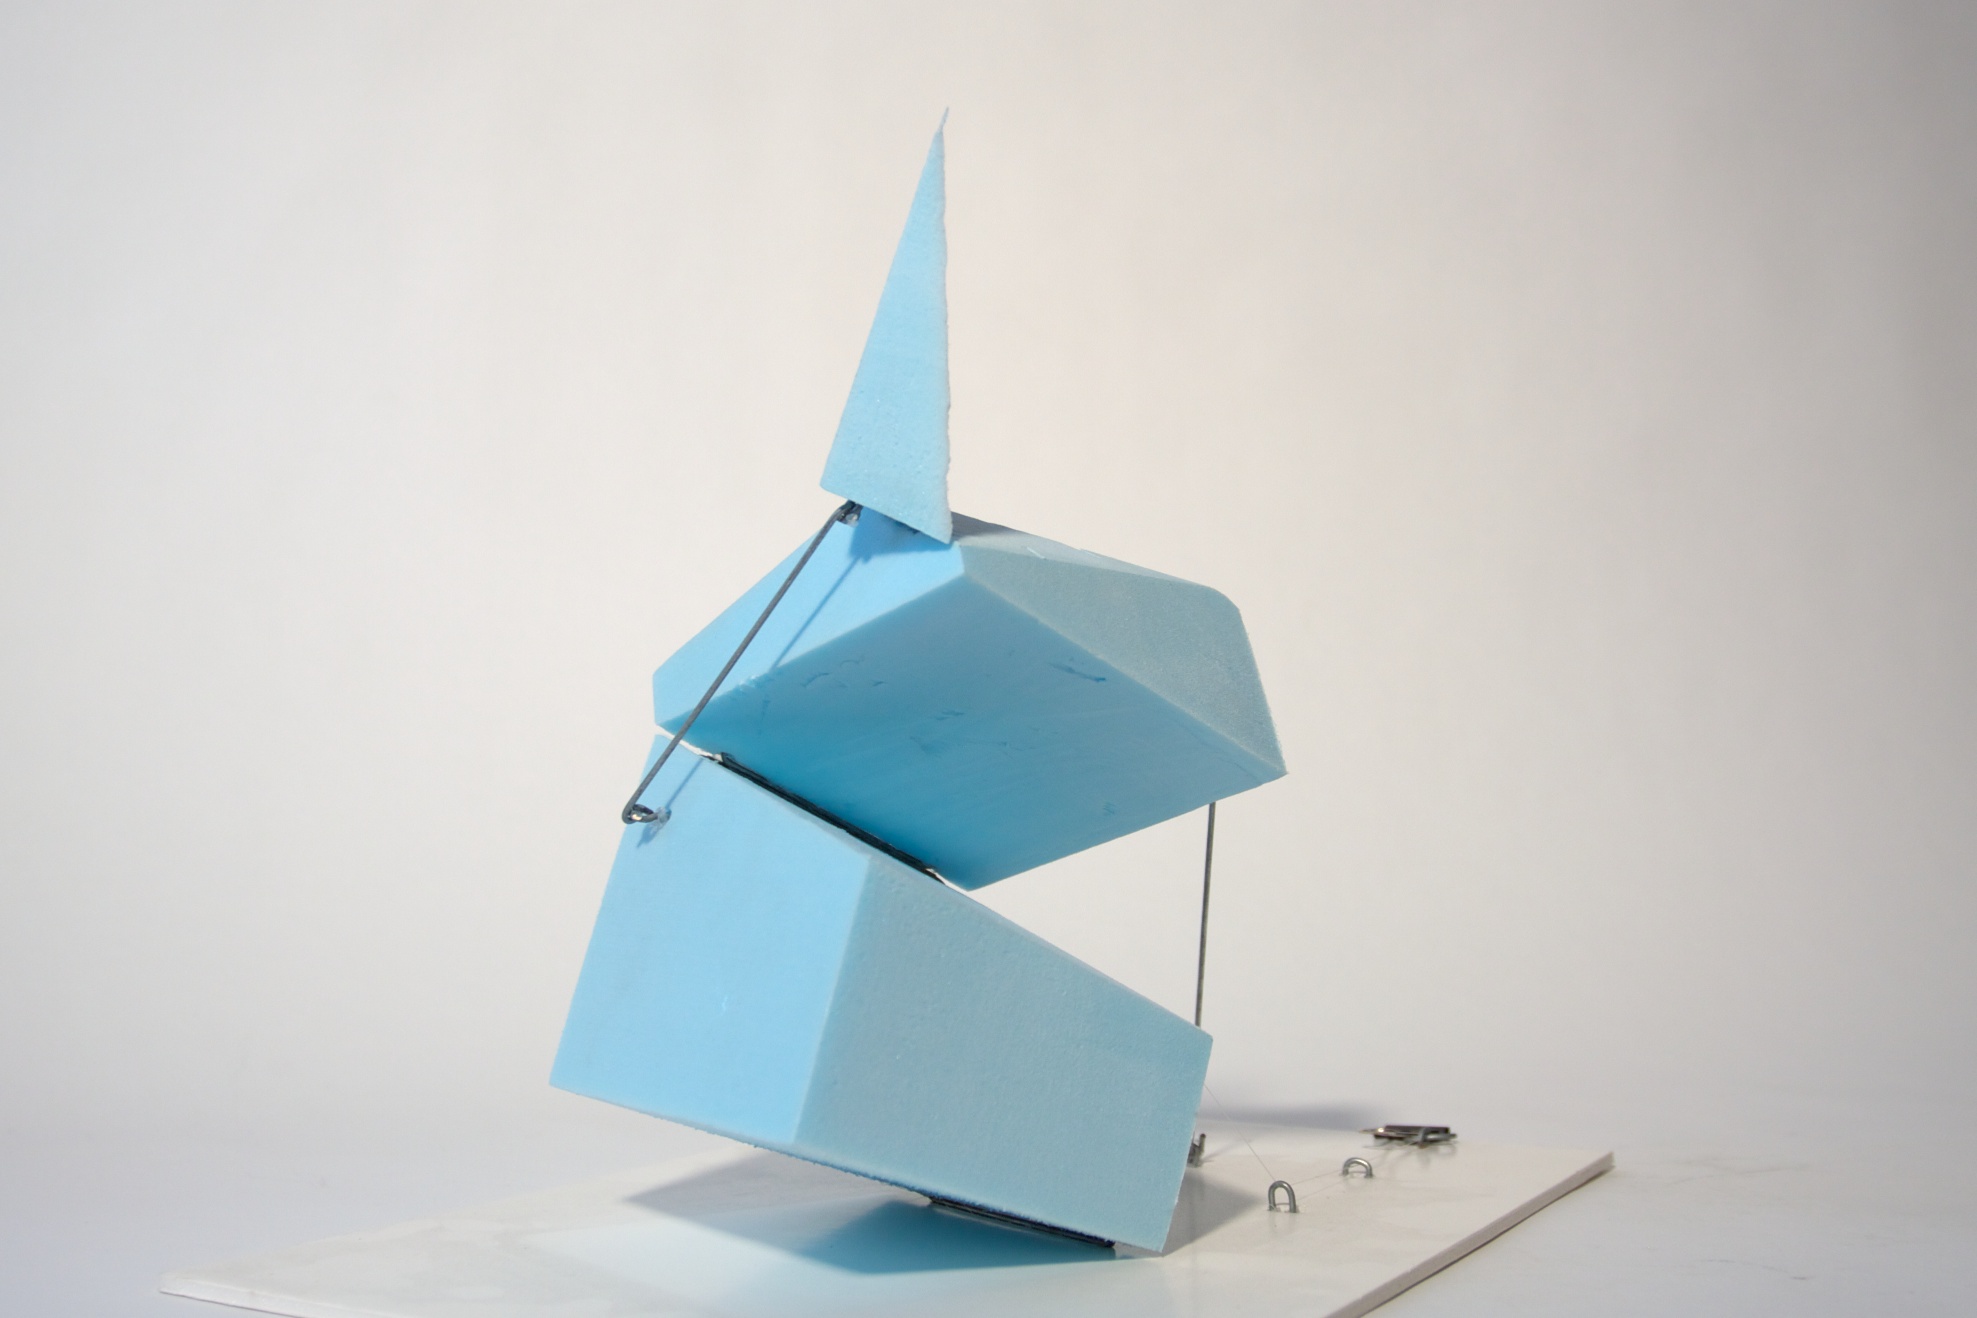
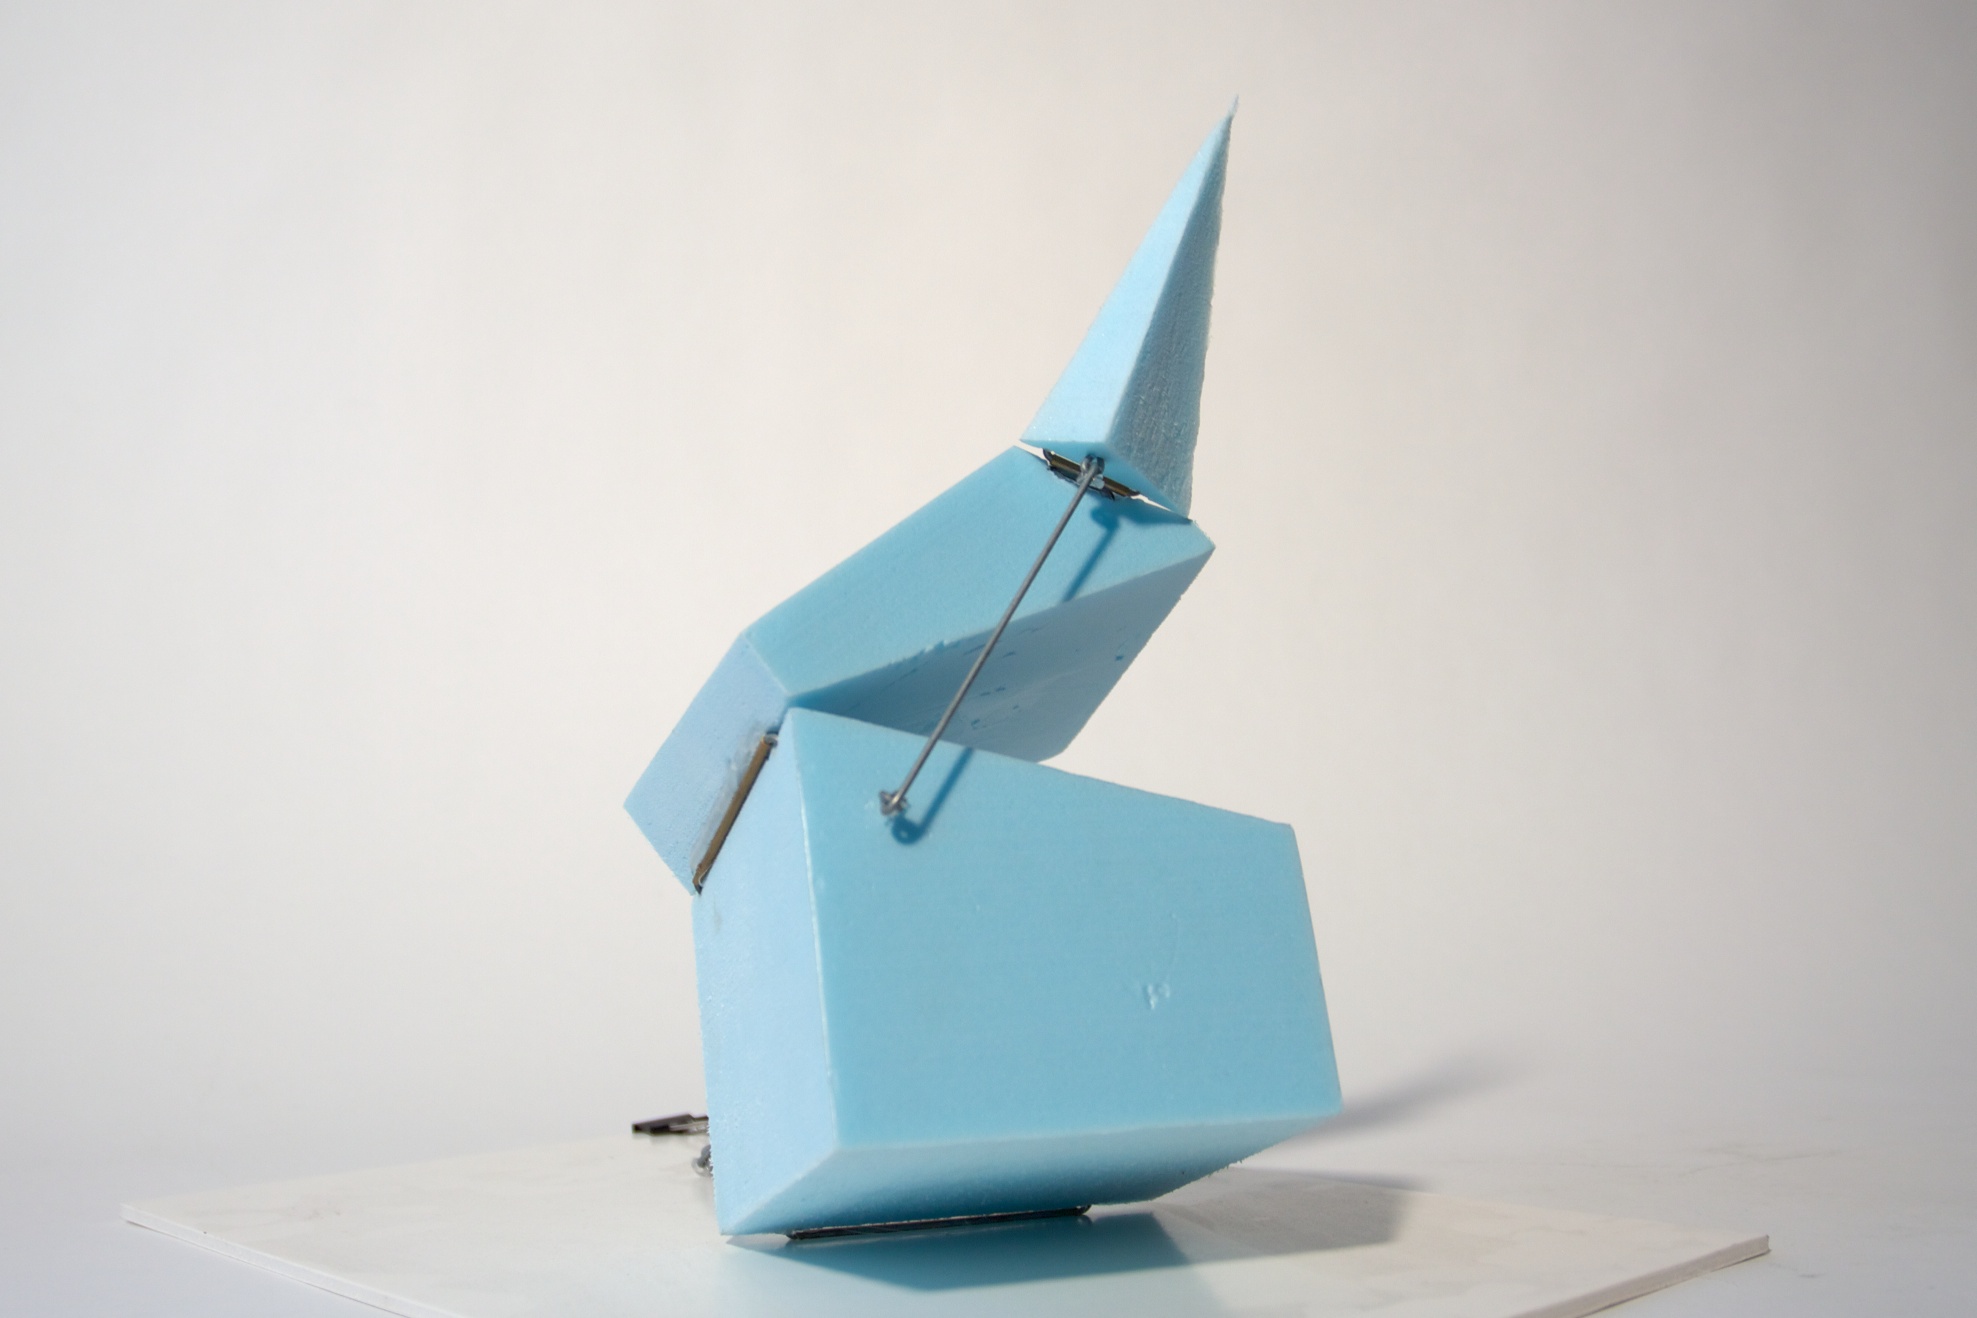
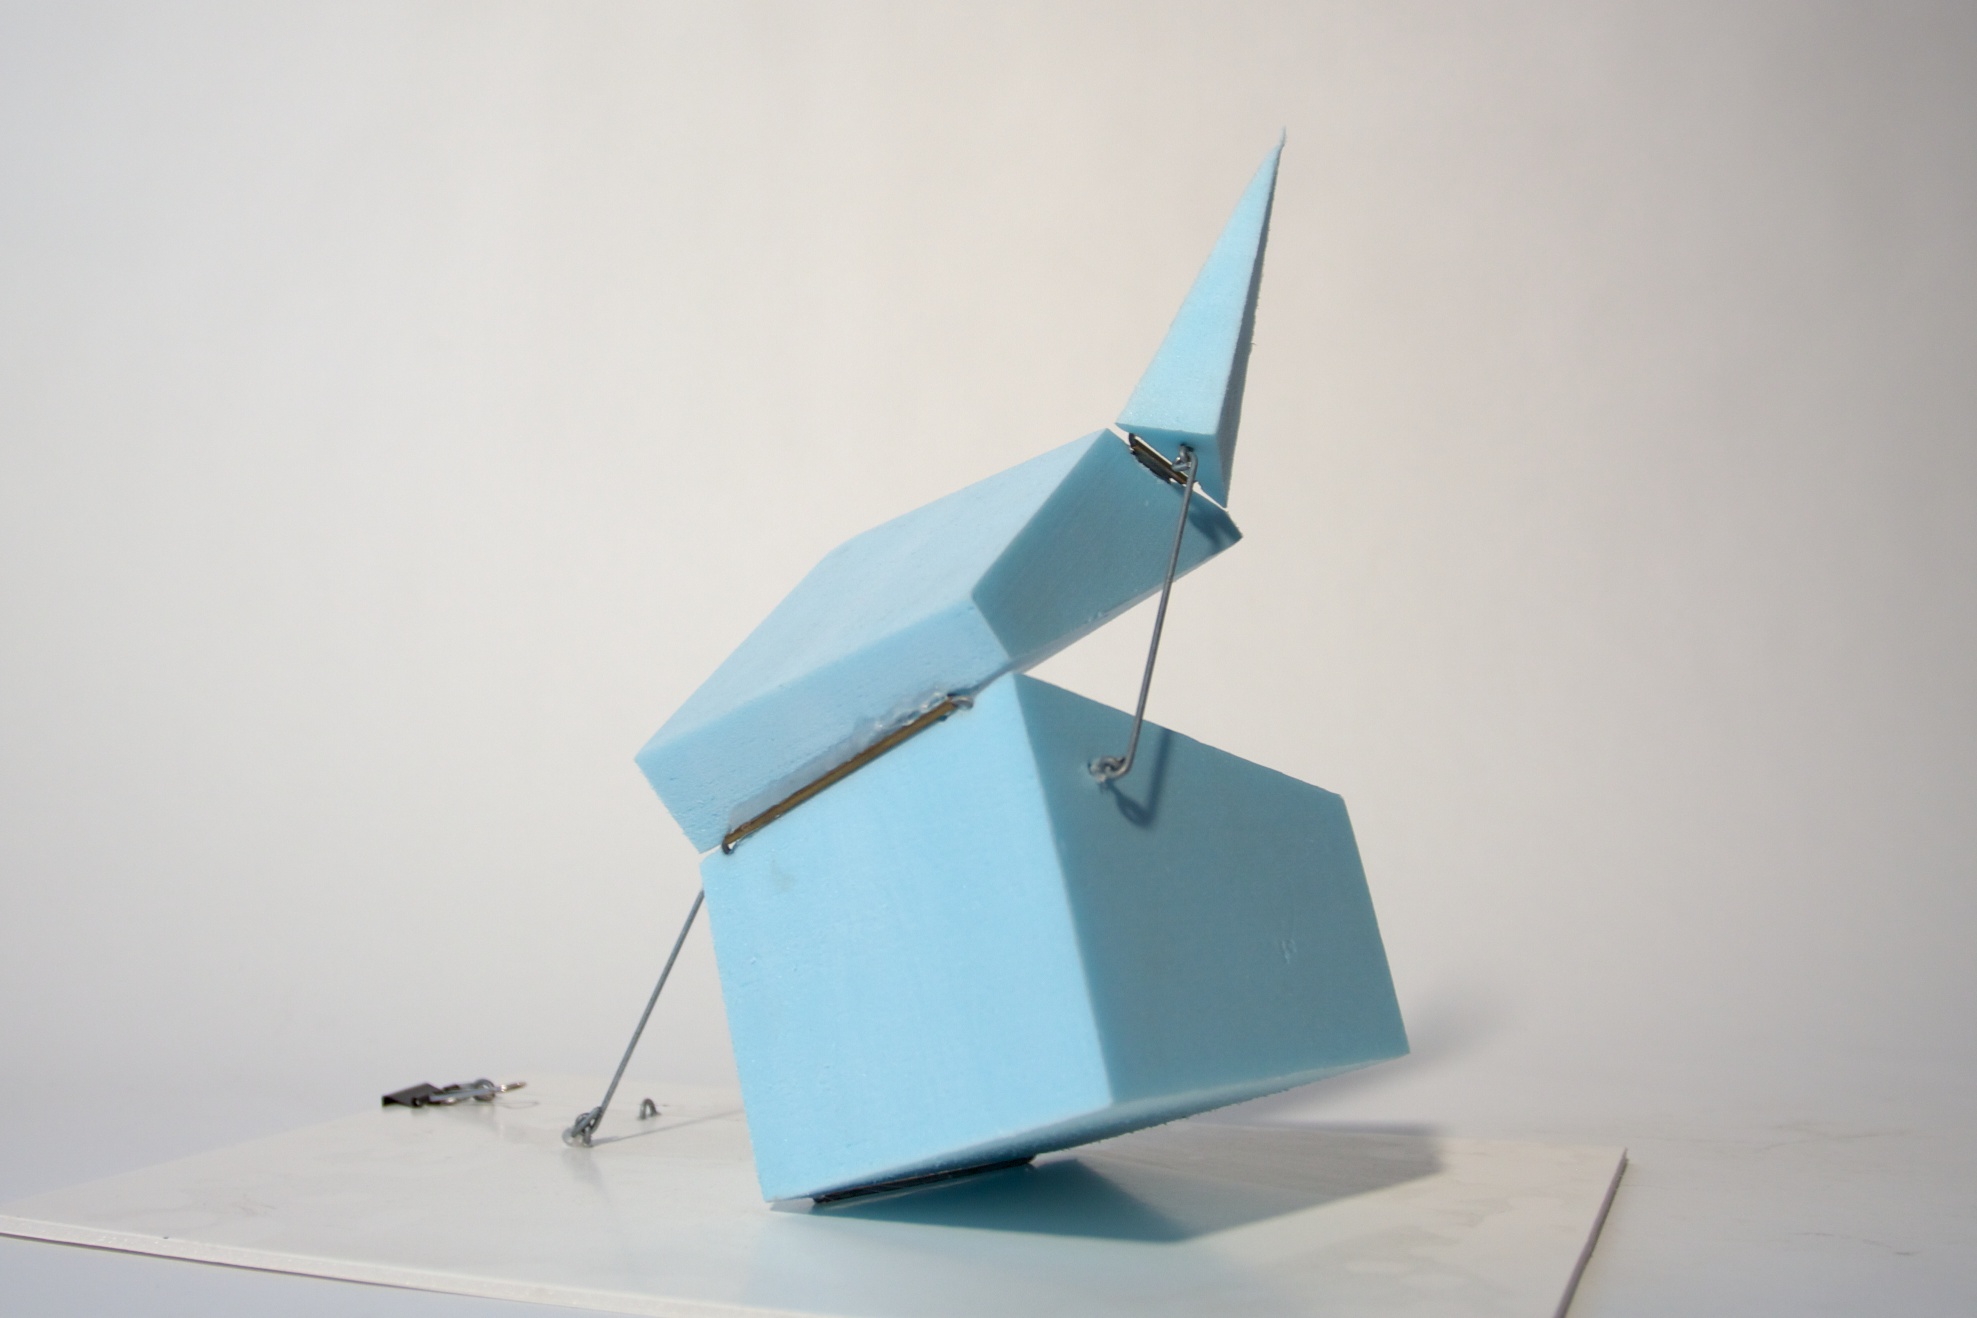
The lesson learned in the final model is that the smaller the loops made for the universal joint, the "tighter" the movement. Also, Since, those joints are attached by hot glue, it's not a true universal joint: i.e. the anchors do not swivel as the arms move. Therefore, the arms should be attached such that the loops are aligned with the direction of the arm's movement.
Also... the small triangular piece at the top is too light to fall back into place on its own and needs help, either with a elastic band or if the arms were tight enough, the piece could be moved back into place.
One more thing. This was probably the first exercise outside of "3D" class, where any attention was paid to the proportions of the components. Kudos to the instructor!